Installing a water temp sensor in a motorcycle is a crucial task that can significantly enhance the performance and longevity of your bike's engine. As a water temp sensor supplier, I've witnessed firsthand the importance of this component in maintaining optimal engine temperature. In this blog post, I'll guide you through the process of installing a water temp sensor in your motorcycle, providing you with the knowledge and confidence to tackle this project on your own.
Understanding the Water Temp Sensor
Before we dive into the installation process, it's essential to understand what a water temp sensor is and why it's so important. A water temp sensor, also known as a coolant temperature sensor, is a device that measures the temperature of the engine coolant. This information is then sent to the motorcycle's engine control unit (ECU), which uses it to adjust the fuel injection, ignition timing, and other engine parameters.
By monitoring the coolant temperature, the ECU can ensure that the engine is operating within its optimal temperature range. This not only improves fuel efficiency and performance but also helps prevent overheating, which can cause serious damage to the engine.
Tools and Materials You'll Need
To install a water temp sensor in your motorcycle, you'll need the following tools and materials:
- New water temp sensor
- Socket set or wrenches
- Gasket sealant
- Anti-seize compound
- Coolant
- Safety glasses
- Gloves
Step-by-Step Installation Process
Step 1: Prepare Your Motorcycle
Before you begin the installation process, make sure your motorcycle is parked on a level surface and the engine is completely cool. This will prevent any burns from hot coolant and ensure your safety throughout the process.
Step 2: Locate the Old Water Temp Sensor
The water temp sensor is typically located near the thermostat housing or on the engine block. Refer to your motorcycle's service manual to find the exact location of the sensor. Once you've located it, visually inspect the sensor and the surrounding area for any signs of damage or corrosion.
Step 3: Drain the Coolant
Before removing the old water temp sensor, you'll need to drain the coolant from the radiator. Place a drain pan beneath the radiator drain plug and slowly open the plug to allow the coolant to drain out. Be sure to collect the coolant in a suitable container for proper disposal.
Step 4: Remove the Old Water Temp Sensor
Using a socket set or wrenches, carefully remove the bolts or nuts securing the old water temp sensor to the engine block or thermostat housing. Once the bolts are removed, gently pull the sensor out of its mounting hole. Be careful not to damage the sensor or the surrounding area.
Step 5: Clean the Mounting Hole
After removing the old sensor, use a clean cloth or a small brush to clean the mounting hole thoroughly. Remove any debris, dirt, or old gasket material from the hole to ensure a proper seal with the new sensor.
Step 6: Apply Gasket Sealant and Anti-Seize Compound
Before installing the new water temp sensor, apply a thin layer of gasket sealant to the threads of the sensor and a small amount of anti-seize compound to the seating surface. This will help prevent leaks and make it easier to remove the sensor in the future if necessary.

Step 7: Install the New Water Temp Sensor
Carefully insert the new water temp sensor into the mounting hole and hand-tighten the bolts or nuts. Be sure not to over-tighten the sensor, as this can damage the threads or cause the sensor to malfunction. Once the sensor is securely in place, use a torque wrench to tighten the bolts to the manufacturer's specifications.
Step 8: Refill the Coolant
Once the new water temp sensor is installed, refill the radiator with coolant to the appropriate level. Refer to your motorcycle's service manual for the correct coolant type and capacity. Be sure to bleed the air out of the cooling system by opening the bleed screw or valve until a steady stream of coolant flows out.
Step 9: Test the Water Temp Sensor
After refilling the coolant, start the engine and let it run for a few minutes. Monitor the temperature gauge on your motorcycle's dashboard to ensure that the water temp sensor is functioning properly. If the temperature gauge reads abnormally high or low, there may be a problem with the sensor or the installation.
Other Types of Temperature Sensors
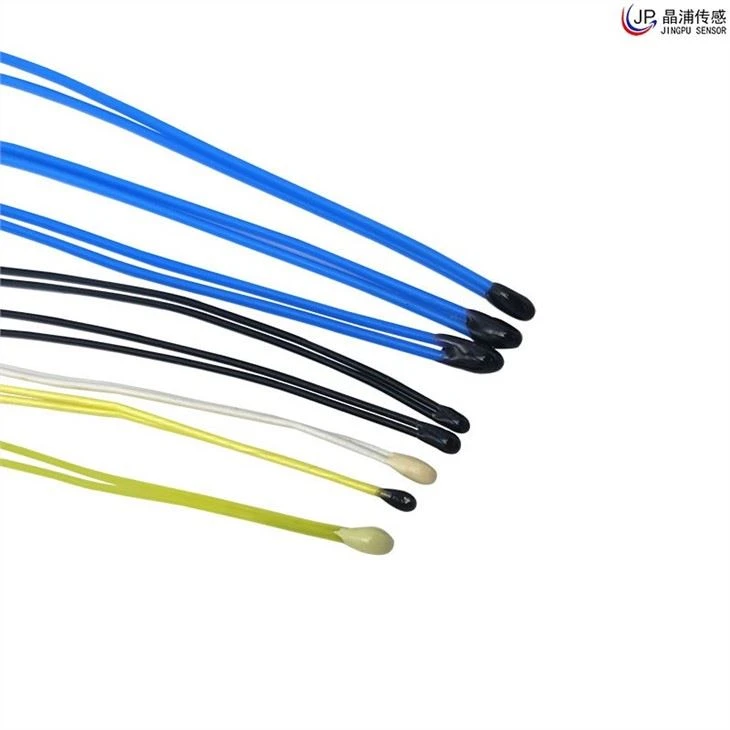
In addition to water temp sensors for motorcycles, there are other types of temperature sensors available for various applications. For example, the Battery NTC Thermistor Temperature Sensor is designed to monitor the temperature of batteries, ensuring their safe and efficient operation. The Fire Alarm Temperature Sensor is used in fire alarm systems to detect changes in temperature and trigger an alarm when necessary. And the Medical NTC Thermistor is used in medical devices to measure body temperature accurately.
Conclusion
Installing a water temp sensor in your motorcycle is a relatively simple process that can have a significant impact on the performance and longevity of your engine. By following the steps outlined in this blog post and using the right tools and materials, you can ensure a successful installation and enjoy the benefits of a properly functioning water temp sensor.
If you're in the market for a high-quality water temp sensor or any other type of temperature sensor, I encourage you to reach out to us. We're a trusted supplier of temperature sensors, offering a wide range of products to meet your specific needs. Contact us today to discuss your requirements and learn more about our products and services.
References
- Motorcycle service manual
- Manufacturer's instructions for the water temp sensor


